
The process of creating prototypes is often time consuming and downright painful. Especially, when designers want to show content on top of other content to mimic elements like sidebars, modals and popovers.
Figma allows to design interfaces, prototype, and gather feedback all in one. With Figma new Overlays feature you can now show content flexibly on top of other content, interact with it and even open multiple overlays.
This post is about how Overlays in Figma works.
How it works
Simple Overlays
Figma is the first interface design tool based in the browser, making it easier for teams to create software.
We reimagined the basic delivery of overlays. Now after you add a prototype link to connect two frames, you will see a new option in the property panel.
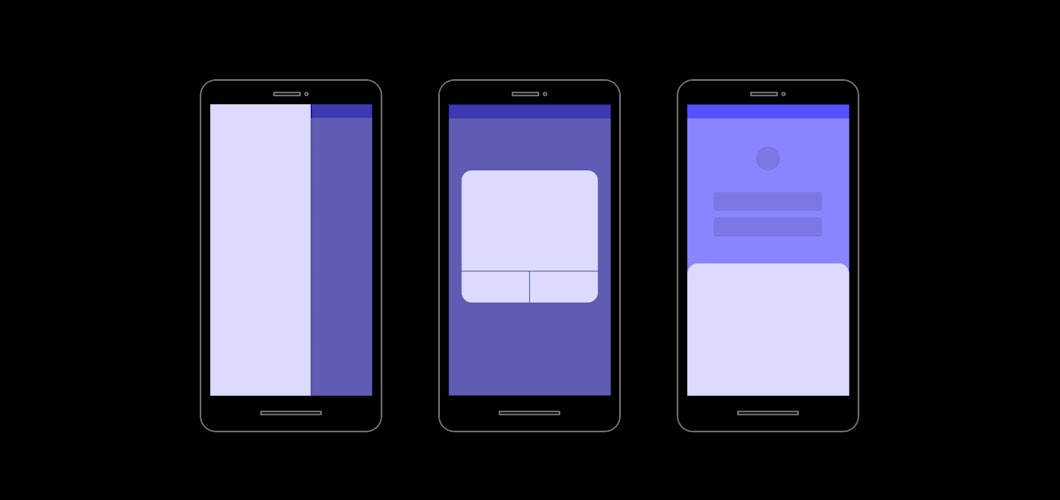
This option will allow you to set the destination frame as an overlay. Once selected, you can customize where the overlay is placed and how it should appear.
Our relative positioning supports use cases like modals and action sheets where you want to show the overlay in relation to the device. For other other use cases like tooltips and dropdowns, you can manually position it in relation to the object from which it is being opened.
Multiple Overlays
But we didn’t stop there. In our increasingly interactive world, there are often situations where more than 2 overlays need to work together – think multi-step purchase flows and confirmation dialogues.
We’re excited that now in Figma, designers can add multiple overlays on top of one another. And, best of all, setting up multiple overlays is just as simple as setting up a single overlay.

Interactions on Overlays
Because prototypes are interactive experiences, we thought carefully about how to allow interactions on overlays. After connecting two frames, you have the choice to swap the frames.
Swapping will replace the entire frame with the new one, but not dismiss an overlay. This allows you to add interactions, like hovering a button, to overlays, too!

Other nitty gritty details
You can now select Back or Close directly on the canvas while dragging the overlay connection instead of selecting these options in the Layers panel.
Keyboard shortcut: While dragging and hovering over your destination frame, you can hold the option key to quickly select the swap connection.
Pro Tip: Leverage swap links for a more flexible ‘Back’ action that will skip over swap links to show the last frame from which you used navigate instead of defaulting to the preceding frame.
In conclusion
Figma is a free, online UI tool where you can create, collaborate, prototype and handoff all in the same place.
We hope Overlays will streamline all of your use cases for showing content flexibly on top of other content.
It also compliments all the other powerful prototyping functionality that you already can access in Figma today – interactions, transitions, device frames, fixed objects and advanced scrolling.
Please, check one of our UI/UX projects, created with Figma.